

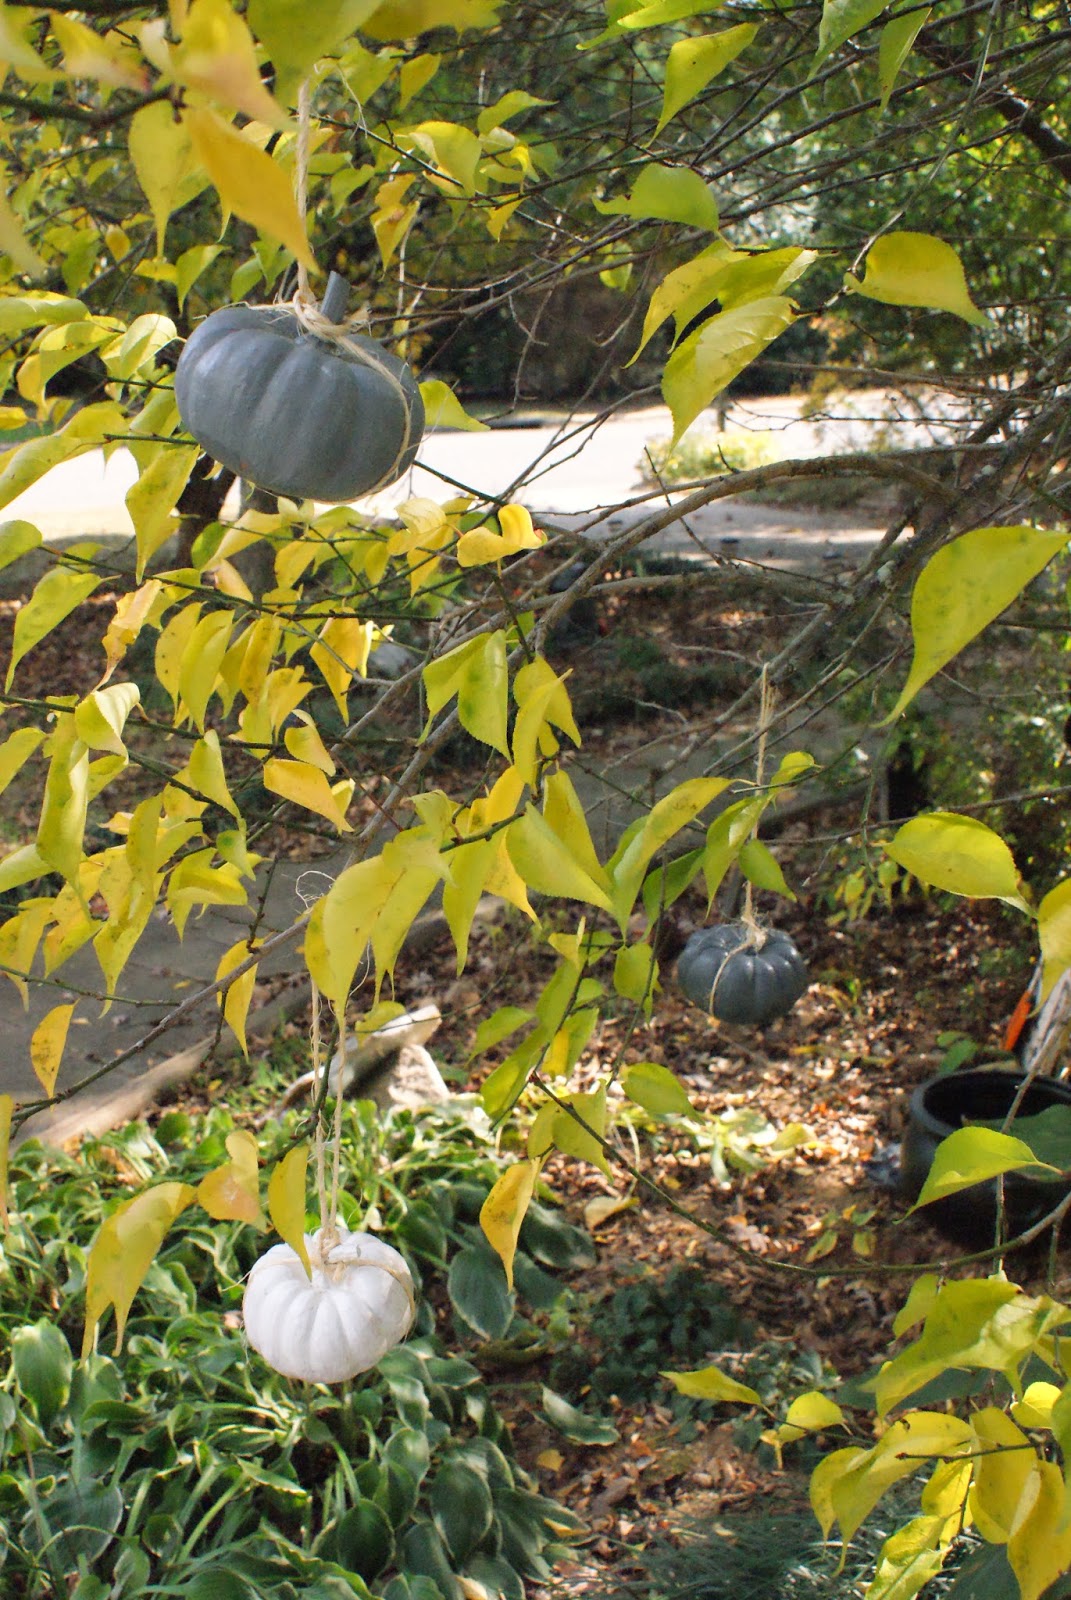
I love mini pumpkins. They're just so cute, aren't they? I mean look at them....
 |
| Adorable, right? |
This is a really easy project you could make in about an hour. Or you can skip painting the pumpkins and make it in a few minutes!
Materials:
Black and White acrylic paint
Paintbrush
Mini pumpkins, choose pumpkins with a fairly long stem
Twine
1. Paint your pumpkins. I painted one pumpkin black, one white, and mixed the two to make several shades of gray for an ombre effect. Let them dry- this could take anywhere from 30 min to an hour or more depending on the heat and humidity.
2. Cut 6 pieces of twine- one for each pumpkin. Each piece should be around 33 inches long.
 |
| Step 3^ |
 |
| Step 4 |

 |
| Step 5 |
 |
| Step 6 |
6. Now, take the long end of the twine and pull the end under the string on top of the pumpkin.
 |
| Step 7 |
8. Cut off the extra ends of the twine and touch up any paint that may have chipped in the process.
 |
| Ta da! |
In a doorway:

On a door knob:
 |
| Chipped door paint is optional |


No comments:
Post a Comment